When Image Metadata Manager is started you will see its main screen (Image 1) which is divided into three sections. The leftmost section has the categories of metadata which when selected will be displayed in the middle section. The rightmost section is a list of opened images, and to see the metadata of a certain image all that is needed is to select that particular image.
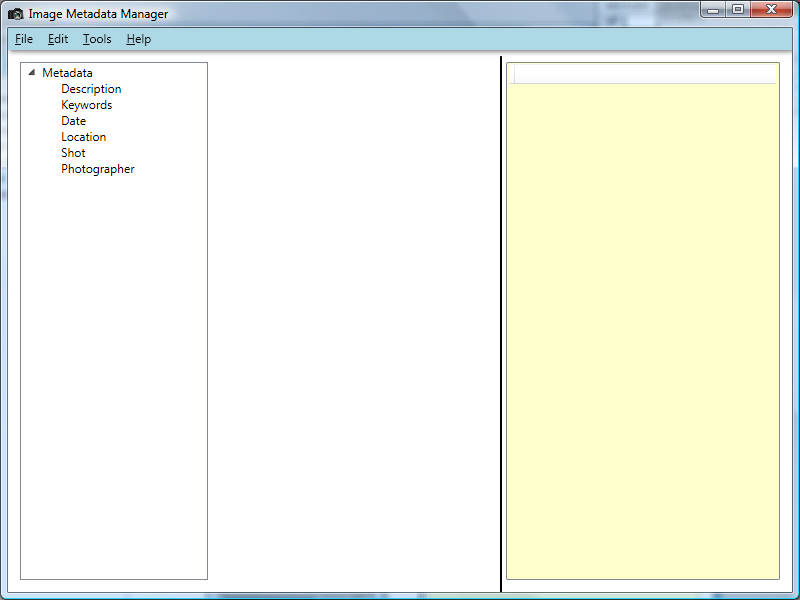
Image 1 - Main Screen
Image files can be opened using the File menu, with the option Open Image(s), and several images can be opened at the same time. Please bare in mind that in order to open and process all the metadata the application uses a noticeable amount of memory per image, so opening too many images at once will make the application run slower.
One example of dealing with a image's metadata can be seen below (Image 2) where the Description category has been selected while one of the opened images were selected, and its description can be seen. That particular image has a title and rating but its description and copyright information are blank. In order to change any of that information you need to do is to type the information inside the correct place and it will be changed. To change the rating, click one of the stars, or to clear the rating information, click the first star (leftmost) until no stars are yellow.

Image 2 - Description
Other information can be accessed via the other categories such as keywords, date, location, shot and photographer. Please note that the shot information is read-only and within the location category the GPS coordinates cannot be edited, that needs to be done using the "View on Map" tool. Also, to read more about handling keywords, please go to the keywords section. To configure the application see the options section.